
When you first install RankSense, you are prompted to enter in the website. The subdomain that you use here is the one that RankSense will be installed on.
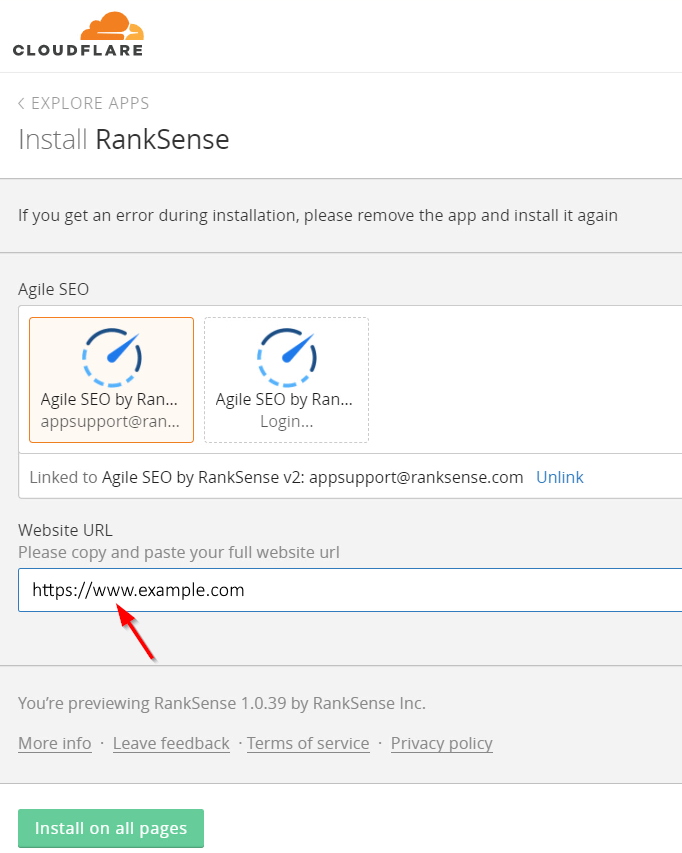
If you enter “www” here, then RankSense will be set up for your www subdomain by default. If you omit “www” here, then RankSense will not check your www subdomain. This can lead to confusion!
Changing the subdomain
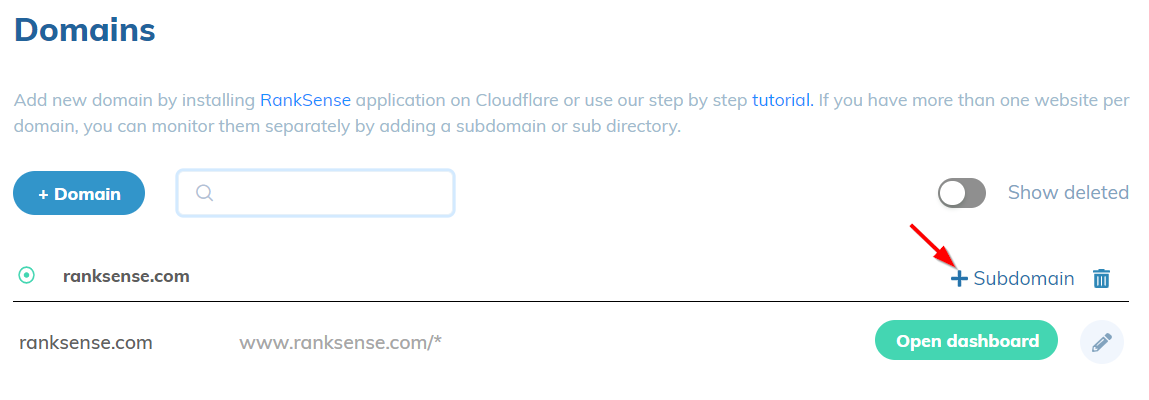
It is easy to add the correct subdomain after installation. Visit https://dash.ranksense.com/domains and click +Subdomain.
In the window that appears, fill in the boxes highlighted below.
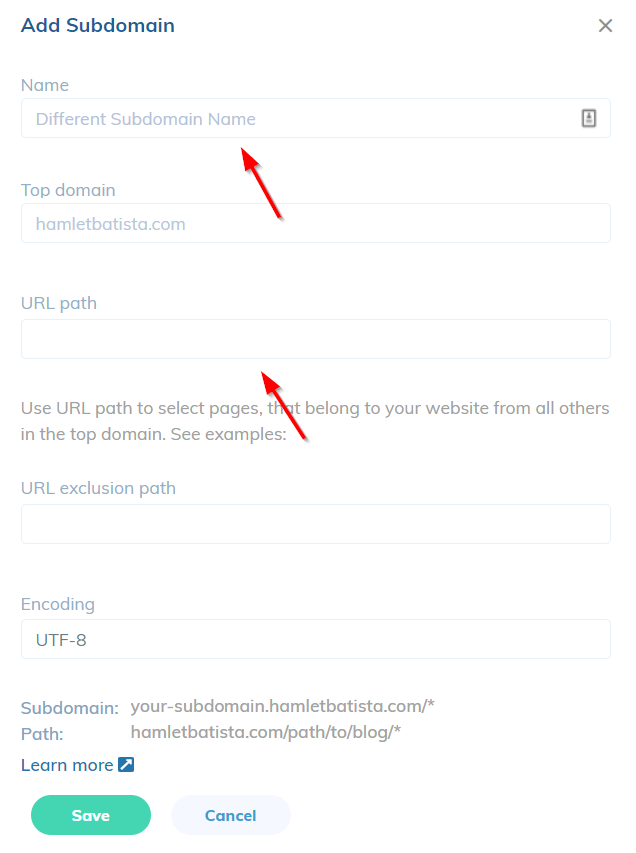
The first box is the name of the domain that will appear on the left side of the domain list, and this can be anything.
The URL path should match the actual location of the site. If your URLs generally contain “www” then you should use “www” here. If your URLs do not contain “www” then you should omit it here. You can also add any other subdomain you wish to monitor with RankSense.
Click Save.
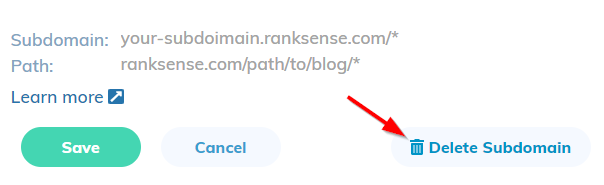
You may wish to delete a subdomain that you do not use. For example, our website does not use https://ranksense.com at all (without www), only https://www.ranksense.com. So if I accidentally installed on https://ranksense.com, I can click the pencil next to that subdomain, and then click “Delete subdomain.”

It will take some time for RankSense to gather data for your dashboard. The app works by piggybacking on search engine bots that crawl your site, so data will not be visible until your site has been crawled. If you do not see data after an hour, please first run our installation wizard for basic troubleshooting.
If you are still having problems, please contact us via the in-app messenger.